The keyboard is an integral part of a PC. Therefore, adhering to standard “computer hygiene” practices such as not eating over the keys, and avoiding drinking coffee or tea near it, is complemented by another rule – regular cleaning.
In this article, we’ll explore how to clean keyboard keycaps. By maintaining clean keycaps, you can prevent the buildup of dirt and debris that might affect your keyboard’s performance. Let’s dive into the details of effective keycap cleaning.
Contents
- 1 Types of keyboard cleaning
- 2 Cleaning with Cleaning Agents
- 3 How to Clean Keyboard Keycaps Without Breaking Anything
- 4 Cleaning Your Computer Keyboard and Keyboard Cover
- 5 Cleaning a Mechanical Keyboard with Keycap Removal
- 6 How to clean a backlit keyboard
- 7 Cleaning a Keyboard After Liquid Spill (Spillage on the Keyboard)
- 8 Using Keyboard Cleaning Products
- 9 Сonclusion
Types of keyboard cleaning
Experts distinguish two types of keyboard cleaning:
- Light cleaning. This involves the superficial removal of dust and dirt from the keys and the spaces in between. Such cleaning is done several times a day by simply wiping the keys with a dry cloth.
- Deep cleaning. Thorough cleaning entails a meticulous procedure involving the use of various tools and cleaning agents. In some cases, the keyboard is disassembled to clean the contacts.
The more often and effectively light cleaning is performed, the lower the risk of accumulating “dirt deposits” and their negative impact on the keyboard’s performance.
Cleaning with Cleaning Agents
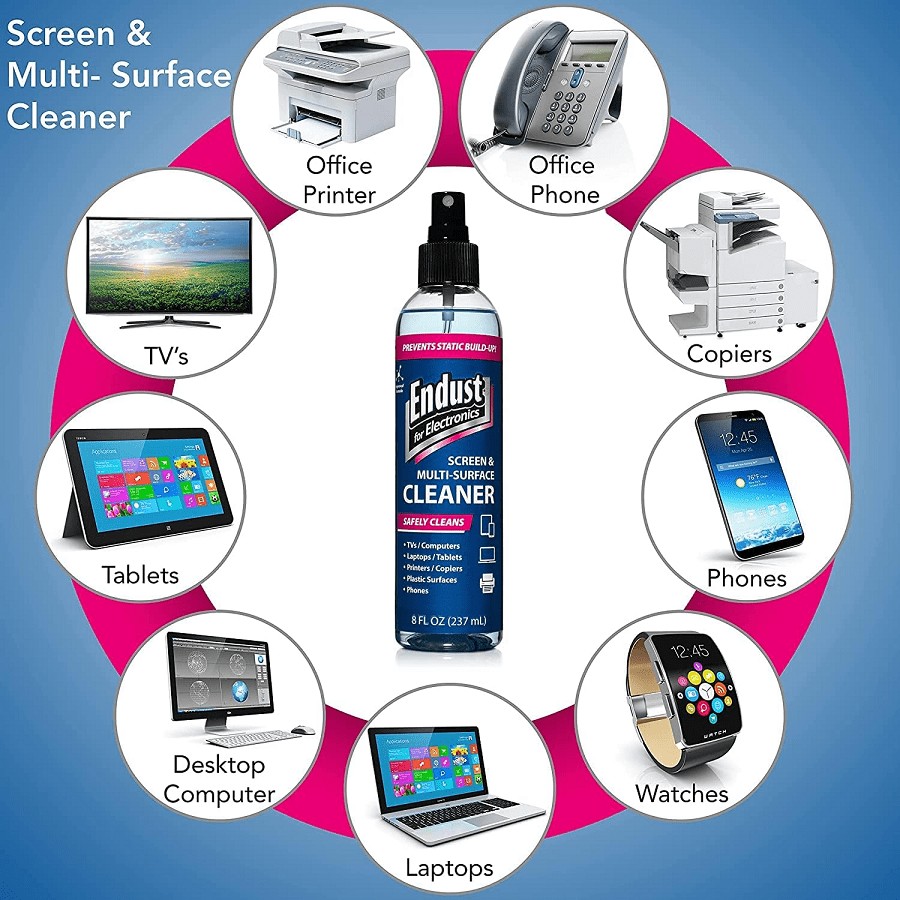
The first and most obvious solution is to wipe the casing and keys with a cleaning agent. You can use specialized wipes for electronic devices or alcohol.
Alternatively, regular dish soap or shampoo can also be used. The key is to avoid using harsh chemicals intended for plumbing cleaning, as they may contain plastic-damaging alkaline substances that could, at best, strip the paint from the keyboard, and at worst, damage the casing.
Read also: How To Assemble A Gaming Chair
How to Clean Keyboard Keycaps Without Breaking Anything
The next steps are straightforward. Take a microfiber cloth or a regular dusting cloth, dampen it with soapy water, and carefully wipe down the device. For cleaning the spaces between the keys, use cotton swabs or a soft-bristle brush.
Preparatory Steps (Materials/Tools for Cleaning)
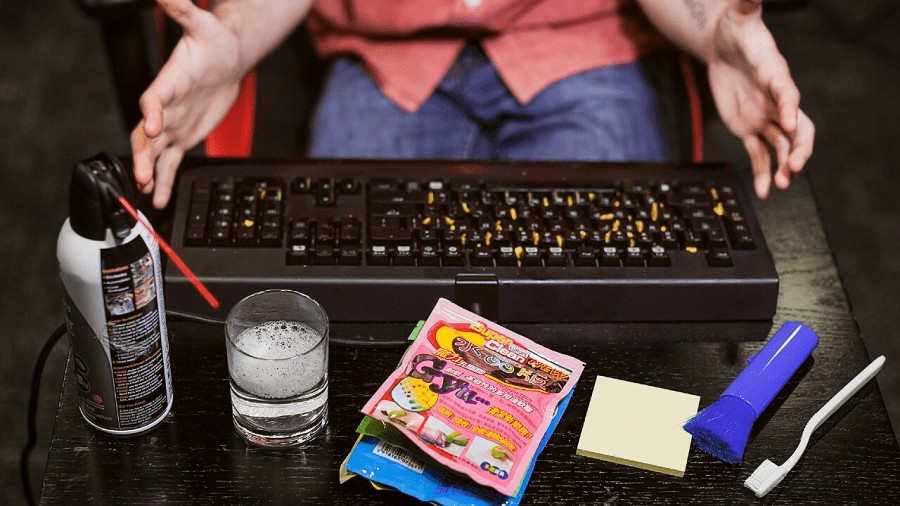
Before delving into how to clean a computer keyboard, it’s important to gather the necessary tools and materials for the procedure. You will need:
- Lint-free cloth, such as a microfiber cloth.
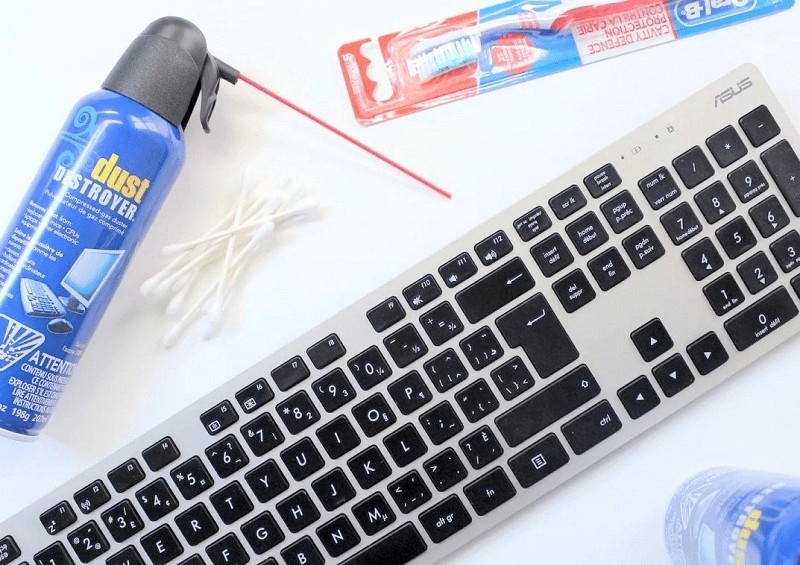
- Cotton swabs.
- Furniture cleaner or another liquid containing alcohol.
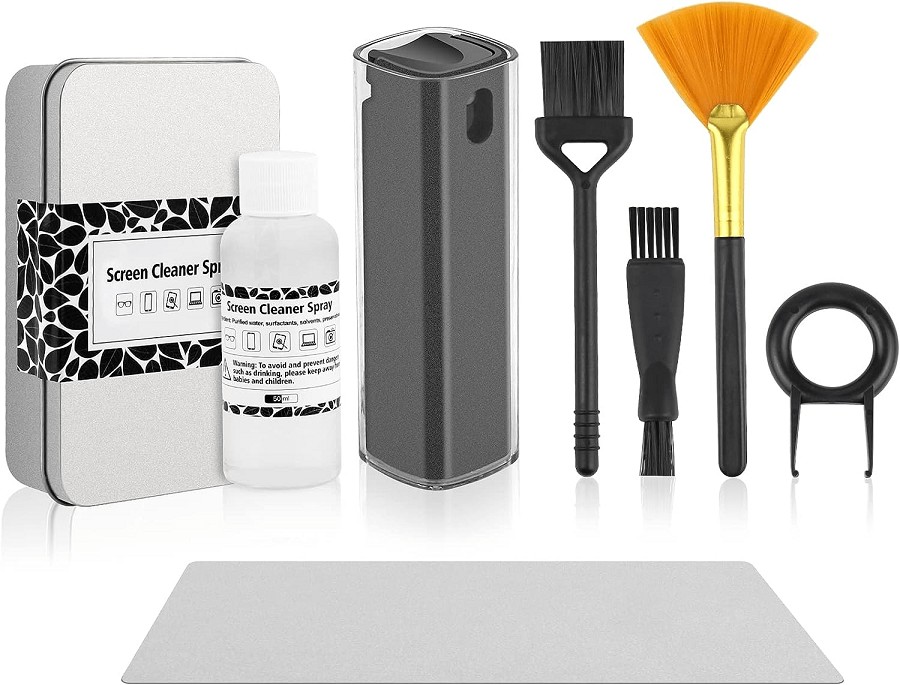
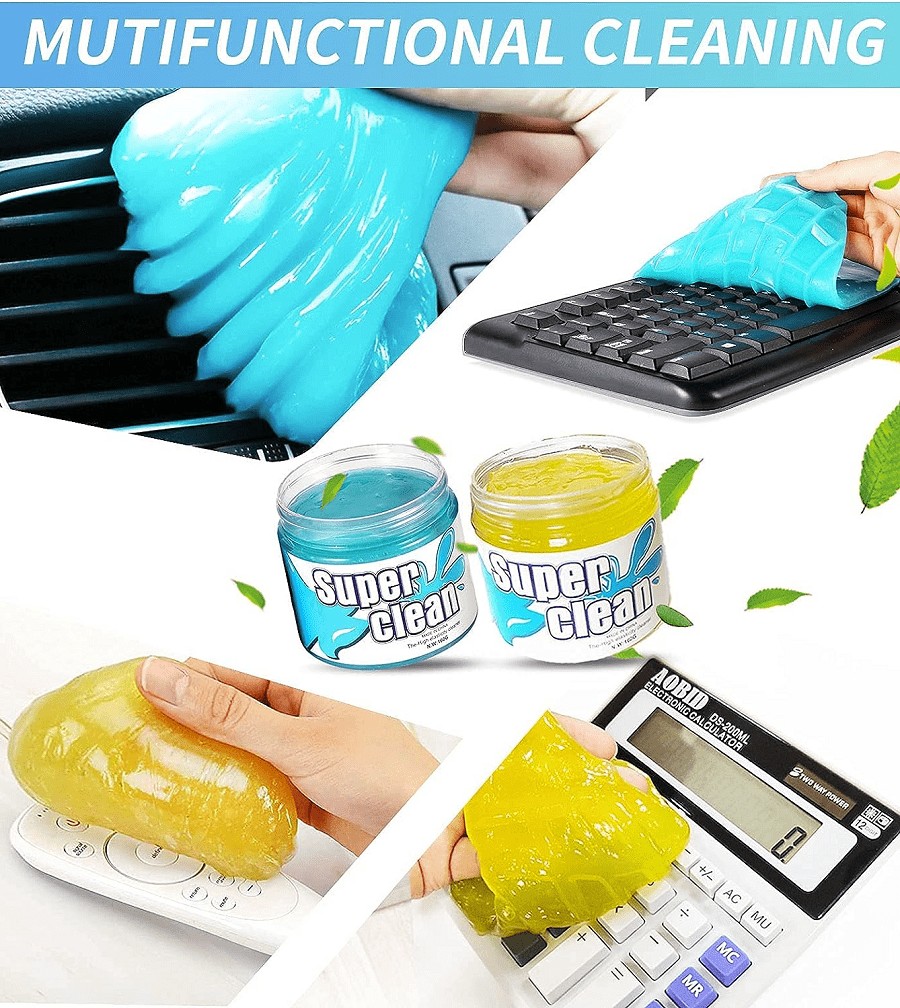
- Specialized keyboard cleaner gel.
- Screwdriver or another sharp tool for convenient disassembly.
- Compressed air canister (excellent for removing small debris under the keys), which can be replaced with a vacuum cleaner or a medical bulb, but caution is needed.
- Stiff brush for effectively sweeping away crumbs.
Cleaning Your Computer Keyboard and Keyboard Cover
Regular maintenance of your computer keyboard and keyboard cover is essential for both hygiene and functionality. Here’s a step-by-step guide on how to clean a keyboard cover and how to clean keyboard caps:
- Disconnect and Power Down: Before you start cleaning, make sure your computer is disconnected from any power source and turned off. This prevents any electrical accidents during the cleaning process.
- Surface Cleaning: Begin by gently wiping the keyboard cover’s surface with a lint-free cloth. You can dampen the cloth slightly with a mixture of water and a small amount of isopropyl alcohol. Avoid excessive moisture, as liquids can seep through the keyboard.
- Cleaning Between Keys: Use a can of compressed air to blow away dust and debris from between the keys on the keyboard and the keyboard cover. This helps dislodge particles that may be trapped in hard-to-reach places.
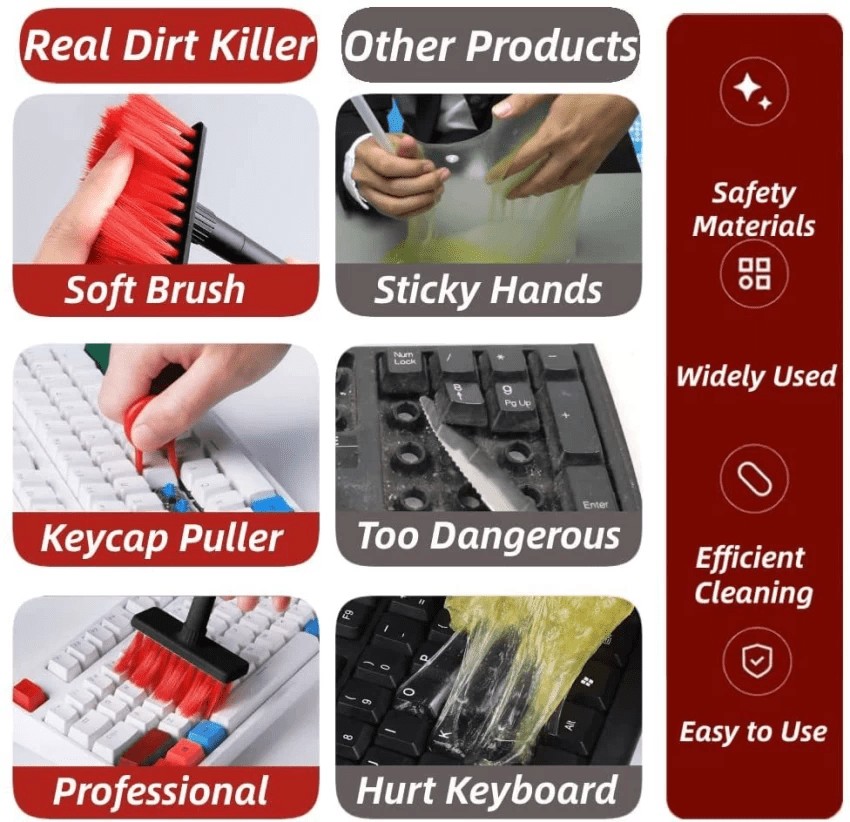
- Removing Keycaps: For more thorough cleaning, you can remove individual keycaps from the keyboard cover. Carefully pry them off using a keycap puller or a small flat tool. Be gentle to avoid damaging the keycaps or the underlying mechanisms.
- Cleaning Keycaps: Once removed, soak the keycaps in a bowl of warm, soapy water for a few minutes. Gently scrub them with a soft brush or a toothbrush to remove dirt and grime. Rinse the keycaps thoroughly and let them air dry.
- Cleaning the Cover: If your keyboard cover is removable, follow the manufacturer’s instructions for safe removal. Wash the cover with mild soap and water, then allow it to dry completely before reattaching it.
- Reassembly: Once the keycaps are dry, carefully place them back on the keyboard cover. Press down firmly to ensure they snap into place. Make sure all keycaps are aligned properly.
- Final Touches: Wipe down the entire keyboard cover with a dry, lint-free cloth to remove any remaining moisture. Reconnect your computer to the power source and turn it on.
Cleaning a Mechanical Keyboard with Keycap Removal
When facing heavy dirt buildup on a mechanical keyboard, complete disassembly might be necessary. First, take a photo of the keyboard or find a similar image online to aid in reassembling the keycaps correctly. Then, gently pry up the top panel using a sharp object and detach it, or unscrew the mounting screws and separate the components.
Next, remove the keycaps (avoid touching Enter, Shift, and Delete as they have additional metal stabilizers) and the silicone base, which should be cleaned separately. Specialized tweezers are helpful, but manual removal works as well—grasp the cap and pull upward.
Cleaning is performed similarly using compressed air, a brush, and cotton swabs. When cleaning the switches, it’s recommended to reapply lubrication before allowing them to dry for a few days.
Before cleaning the plastic “stencil,” remove the microcontroller. The top part of the keyboard can be cleaned with a toothbrush and soap. Then, ensure all components are thoroughly dried and reassemble the device.
There are special gel-like compounds designed to penetrate deep within the keyboard, effectively capturing dust and dirt from hard-to-reach places.
For those wondering how to clean mechanical keyboard, it’s important to note that the process is similar to a standard keyboard. The main difference lies in the individual attachment of each key. While disassembly isn’t overly complicated, reassembly may pose challenges. Proceed with care, arranging components on a surface for easier reinstallation.
Remember, proper cleaning helps maintain the functionality and appearance of your mechanical keyboard. By following these steps and employing specialized cleaning methods, you can ensure your keyboard stays in top condition.
How to clean a backlit keyboard
When it comes to cleaning a backlit keyboard, it’s important to understand that there are no significant differences from a regular one. The main emphasis is on the fact that each key has an individual attachment.
Disassembling the structure is not complicated, but reassembly can be challenging. Therefore, it’s necessary to proceed with caution, laying out the components on a surface for the convenience of subsequent reassembly.
Cleaning a Keyboard After Liquid Spill (Spillage on the Keyboard)
In the event of a spill of tea, coffee, or juice on the keyboard, it is recommended to disconnect it, flip it upside down, and allow the liquid to drain naturally. After this step, the question arises of how to clean a mechanical keyboard in this situation.
It’s important to leave the device undisturbed for a while to allow it to dry completely. If certain keys become sticky or difficult to press due to the spill, only those specific keys should be removed for cleaning.
Using Keyboard Cleaning Products
Maintaining the cleanliness of your keyboard is crucial for optimal performance and longevity. To achieve this, various keyboard cleaning products are available, each designed to address specific cleaning needs. Here are some key options.
Keyboard Cleaner Spray
Keyboard cleaner sprays are designed to effectively remove dust, dirt, and debris from between the keys and the keyboard’s surface. They come in convenient spray bottles with a thin nozzle, allowing you to target hard-to-reach areas.
When using a keyboard cleaner spray, ensure your keyboard is disconnected from any power source and turned off. Hold the keyboard at an angle and apply short bursts of the spray between the keys, allowing the cleaning solution to penetrate.
Afterward, use a lint-free cloth or compressed air to remove the loosened particles. Be cautious not to oversaturate the keyboard, and always follow the manufacturer’s instructions.
Best Keyboard Cleaner
Finding the best keyboard cleaner depends on your specific needs. Look for a cleaner that is safe for use on electronics, non-abrasive, and leaves no residue. Some keyboard cleaners come in pre-moistened wipes, making them easy to use for surface cleaning. Others may come in a gel form, which can effectively lift dirt and grime from between the keys.
Keyboard Cleaner Gel
Keyboard cleaner gels are versatile and can reach even the tightest spaces between keys. The gel is applied over the keyboard’s surface, and as it settles, it captures dust and particles. After a brief period, the gel can be peeled away, taking the debris with it. This type of cleaner is gentle and safe for electronics. It’s important to note that the gel should not be applied directly to the keycaps or sensitive areas.
When using any keyboard cleaning product, remember these general guidelines:
- Read and follow the manufacturer’s instructions carefully.
- Ensure your keyboard is disconnected and powered off.
- Use gentle, non-abrasive materials to avoid damaging keycaps or the keyboard’s surface.
- Test a small, inconspicuous area before applying the cleaner to the entire keyboard.
Regularly incorporating keyboard cleaner, keyboard cleaner spray, or keyboard cleaner gel into your cleaning routine can help keep your keyboard free from dirt and grime, ensuring a comfortable and efficient typing experience.
Сonclusion
Proper maintenance of your keyboard keycaps is essential for ensuring a clean and efficient typing experience. Regular cleaning helps prevent the buildup of dirt, grime, and oils that can accumulate over time.
By following the techniques outlined in this guide, including gentle removal, soaking, scrubbing, and thorough drying, you can effectively restore your keycaps to their pristine condition.

Hello! My name is Maximus Blaze, my friends call me BlazeGamer, and I am an experienced gamer.
I try to be objective and honest in my recommendations, and I hope my articles will help you make the right choice when choosing gaming products. Thank you for your attention, and happy reading!

